Acesta este al doilea tort pe care l-am pregătit de ziua mea, pentru petrecerea cu prietenii mei. Primul a fost pentru familie (va urma şi reţeta, sper, curând). Deşi foarte diferite, amândouă au avut în comun portocala roşie. Şi dacă primul a fost în mare parte creaţia mea, pentru acesta am urmat, aproape întru totul, reţeta de aici. Zic aproape întru totul, pentru că am făcut unele schimbări chiar în timp ce-l pregăteam. Este foarte bun, răcoritor şi destul de uşor (pentru că se ţine la frigider până în momentul servirii, crema este rece şi nu "pică" greu). Mie şi prietenilor mei ne-a plăcut foarte mult şi cu siguranţă voi mai repeta isprava.
A fost şi un tort plimbat prin oraş, de la mine de-acasa până la prietenii care au găzduit petrecerea. Şi din plimbarea asta s-a născut şi numele pe care i l-am dat. Îl lăsasem simplu, doar îmbrăcat în cremă, pentru că mi s-a părut perfect aşa, fără să îl mai încarc cu alte elemente (deşi aveam ceva în minte). Pe drum am trecut pe lângă o florărie şi m-am gândit că ar arăta drăguţ decorat cu nişte flori. Ce mi-au făcut cu ochiul, pentru că sunt şi printre florile mele preferate, au fost nişte frezii albe. Parfumatele flori au făcut din tortul meu frumos un tort elegant, potrivit chiar şi pentru o petrecere cu pretenţii. A fost vedeta petrecerii şi a beneficiat inclusiv de o şedinţă foto destul de lungă, în timpul căreia unii au pozat, alţii s-au ocupat de decor şi scenografie, iar ceilalţi au privit cu jind, aşteptând să se termine ori cheful de pozat al fotografului/fotografilor, ori memoria cardului, ori bateria aparatului, doar doar va fi tăiat tortul mai devreme. Apoi s-a dus, ca şi când nici n-ar fi existat :)
Blat (x3):
- 113 g unt, la temperatura camerei
- 150 g zahăr
- 180 g făină
- 15 g amidon de porumb
- 1 lingură praf de copt
- un vârf de sare
- 2 gălbenuşuri
- 1 ou
- 1 lingură coajă de portocală roşie rasă
- 2 linguri suc de portocală roşie, strecurat
- 120 g iaurt grecesc
- 135 g zahăr
- 160 ml suc de portocală roşie, strecurat
- 480 ml smântână dulce
- 210 g zahăr pudră
- 450 g mascarpone
- coajă de portocală roşie confiată, tăiată cubuleţe (cam 2 linguri)
Preîncălzim cuptorul şi pregătim tava (de circa 23-25 cm) în care vom coace pe rând cele trei blaturi: o ungem cu unt şi tapetăm cu hârtie de copt.
Amestecăm făina cernută cu amidonul, praful de copt şi sarea.
Amestecăm iaurtul cu sucul şi coaja rasă de portocală roşie.
Într-un castron mare mixăm untul la viteză mare circa 2 minute, până devine spumos.
Adăugăm zahărul şi mixăm alte 5 minute.
Adăugăm oul întreg, apoi cele două gălbenuşuri unul câte unul, mixând bine după fiecare adăugare.
Adăugăm amestecul de făină în patru rânduri, alternând cu amestecul de iaurt (trei rânduri). De data aceasta mixăm la viteză mică, doar până ce obţinem un aluat omogen, sau folosim o spatulă.
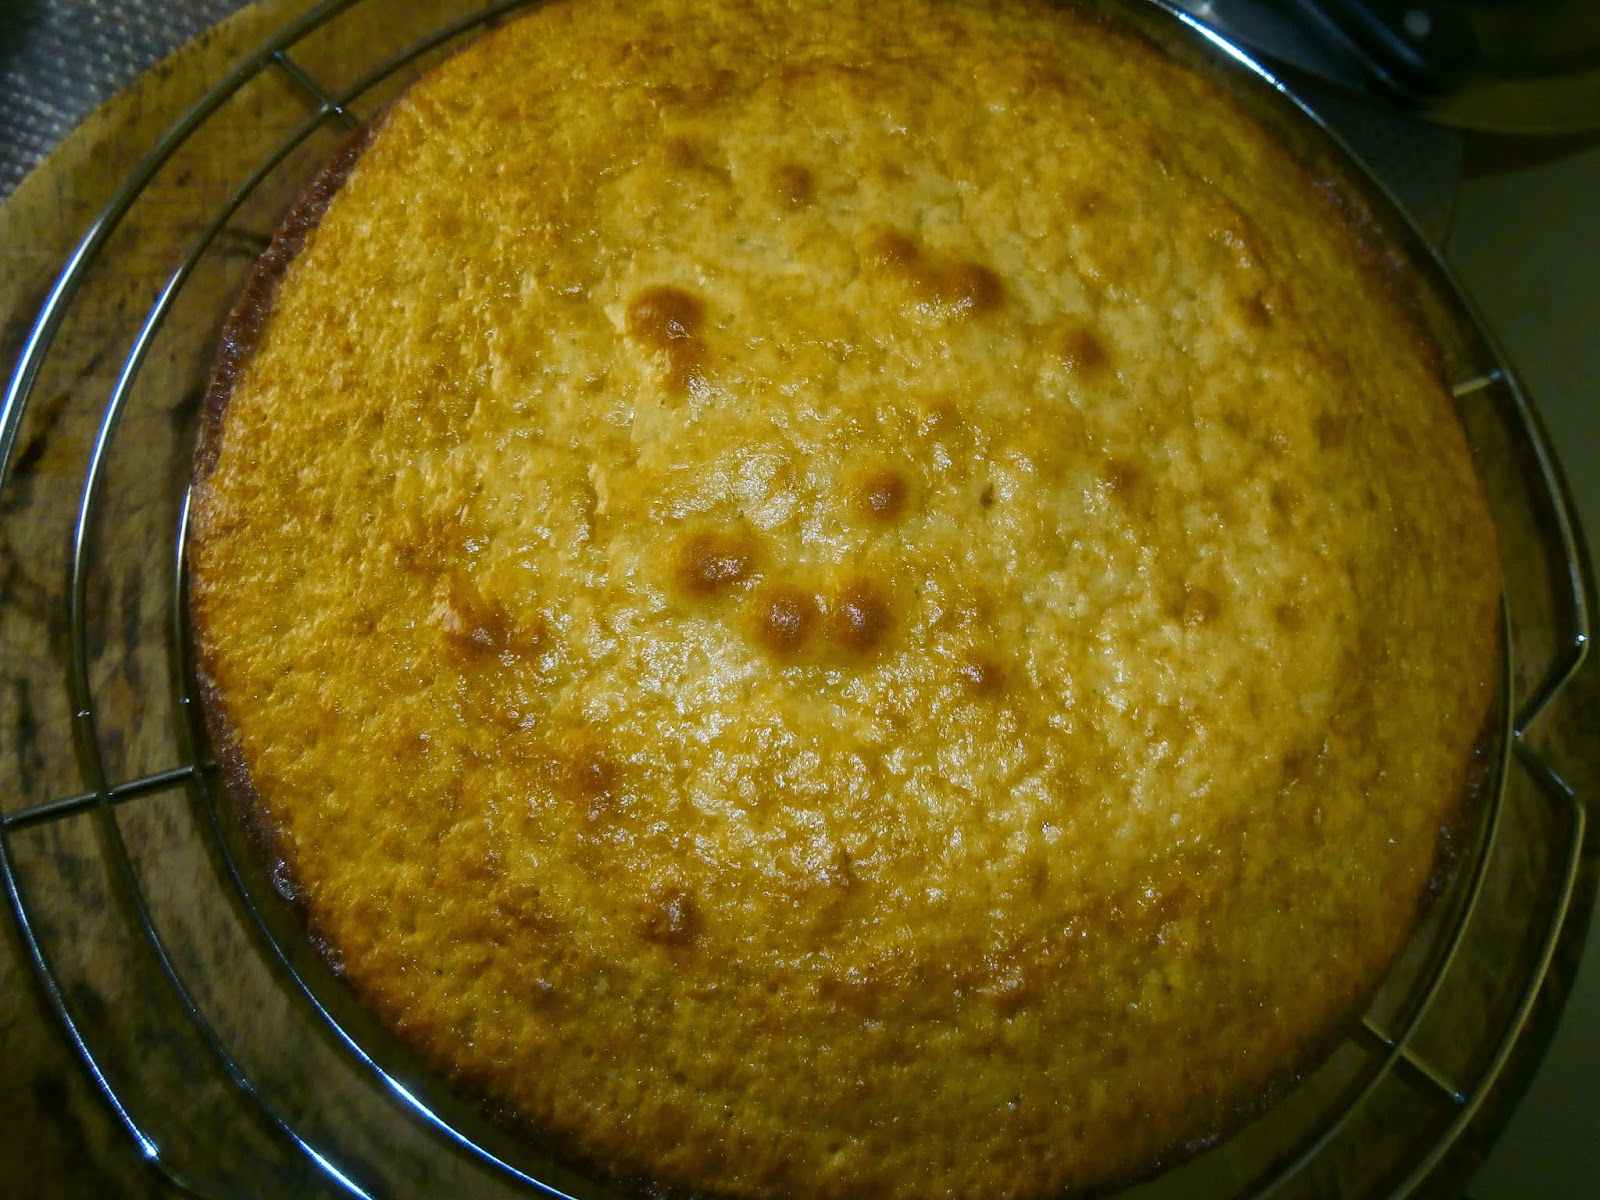
Turnăm aluatul în tavă, nivelăm şi coacem blatul la foc potrivit până ce devine auriu deasupra şi trece testul scobitorii (about 30 minute).
Lăsăm blatul să se răcorească în tavă, apoi îl transferăm pe un grătar şi îl lăsăm să se răcească complet.
Repetăm pentru alte două blaturi.
După ce am terminat cu blaturile (care se pot face cu o zi înainte), pregătim crema.
Mai întâi facem un sirop din zahăr (cele 135 g) şi sucul de portocală roşie. Fierbem acest amestec într-o crăticioară, la foc potrivit, până se reduce la jumătate (ar trebui să obţinem circa 160 ml sirop).
Lăsăm siropul să se răcească.
Când siropul s-a răcit, continuăm prepararea cremei.
Mixăm smântâna dulce până devine uşor fermă.
Adăugăm zahărul pudră şi continuăm să mixăm până se încorporează bine şi crema este fermă.
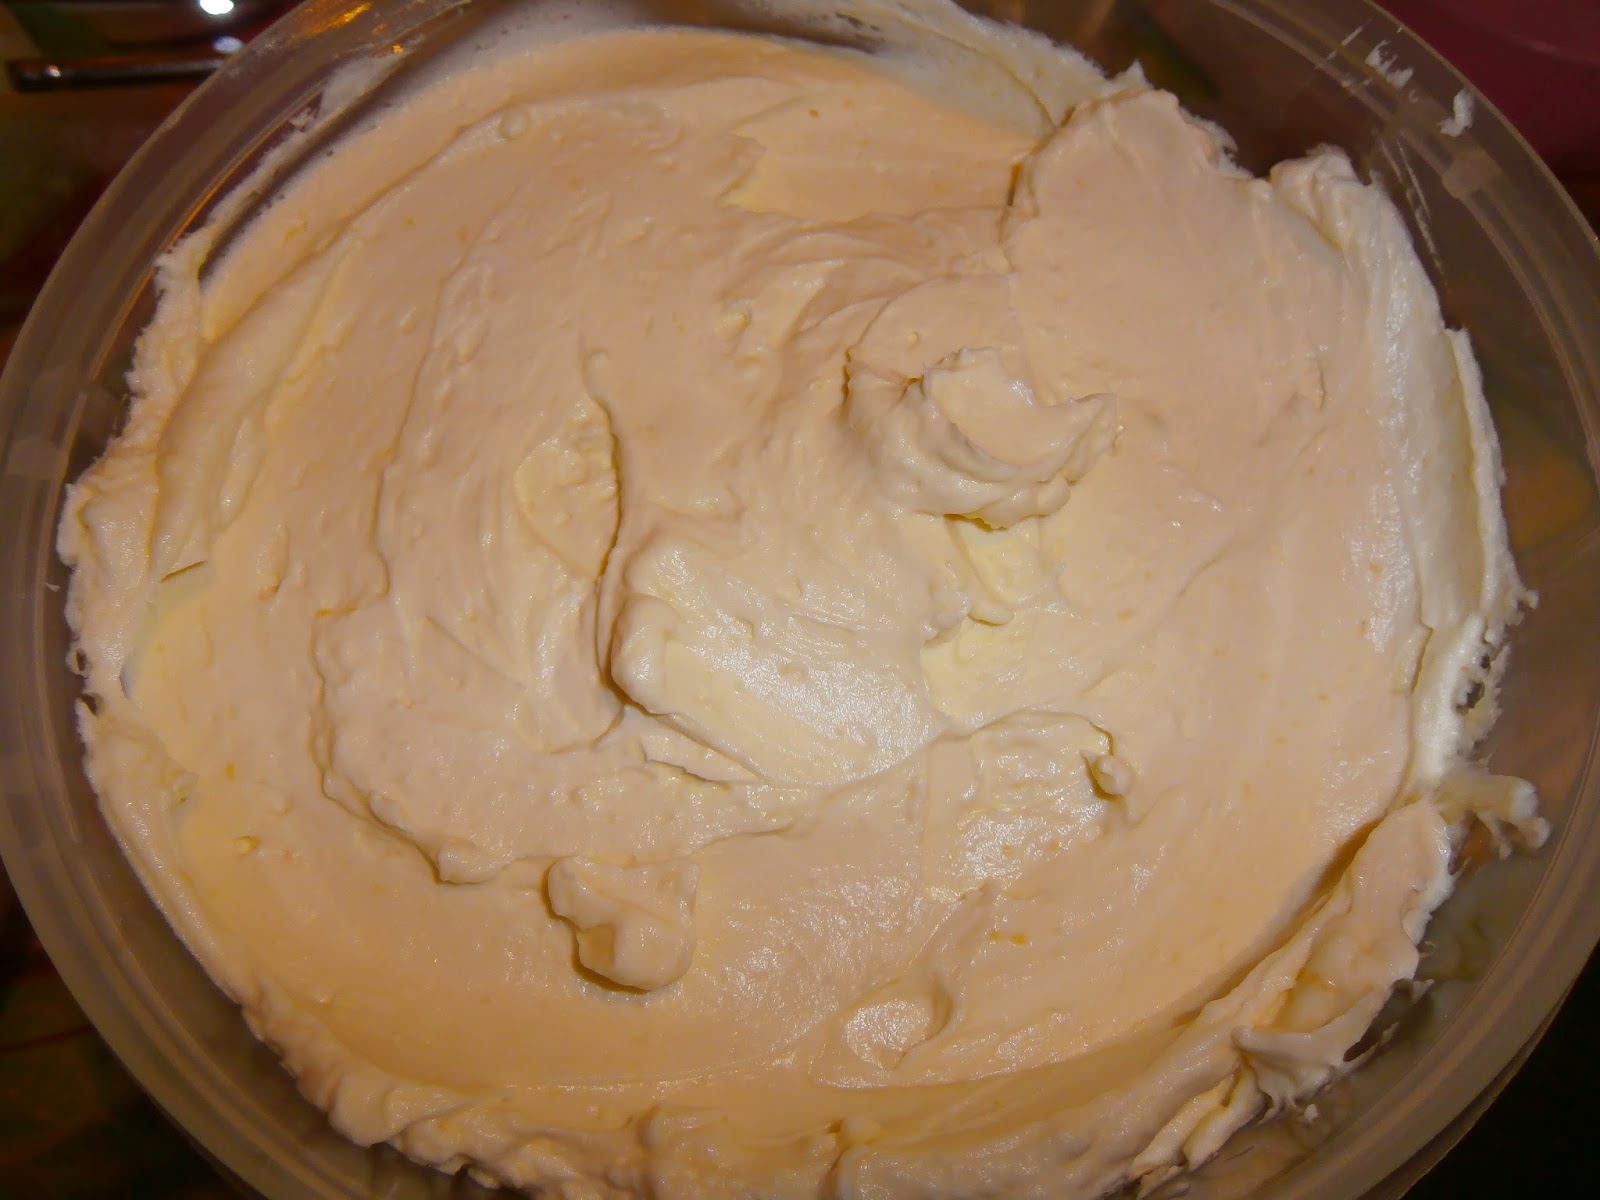
Adăugăm brânza mascarpone şi mixăm până la încorporare.
Folosind o spatulă, încorporăm siropul de portocală roşie.
Acoperim bine castronul sau transferăm crema într-o cutie de plastic şi o lăsăm la frigider pentru cel puţin o oră, ca să se întărească.
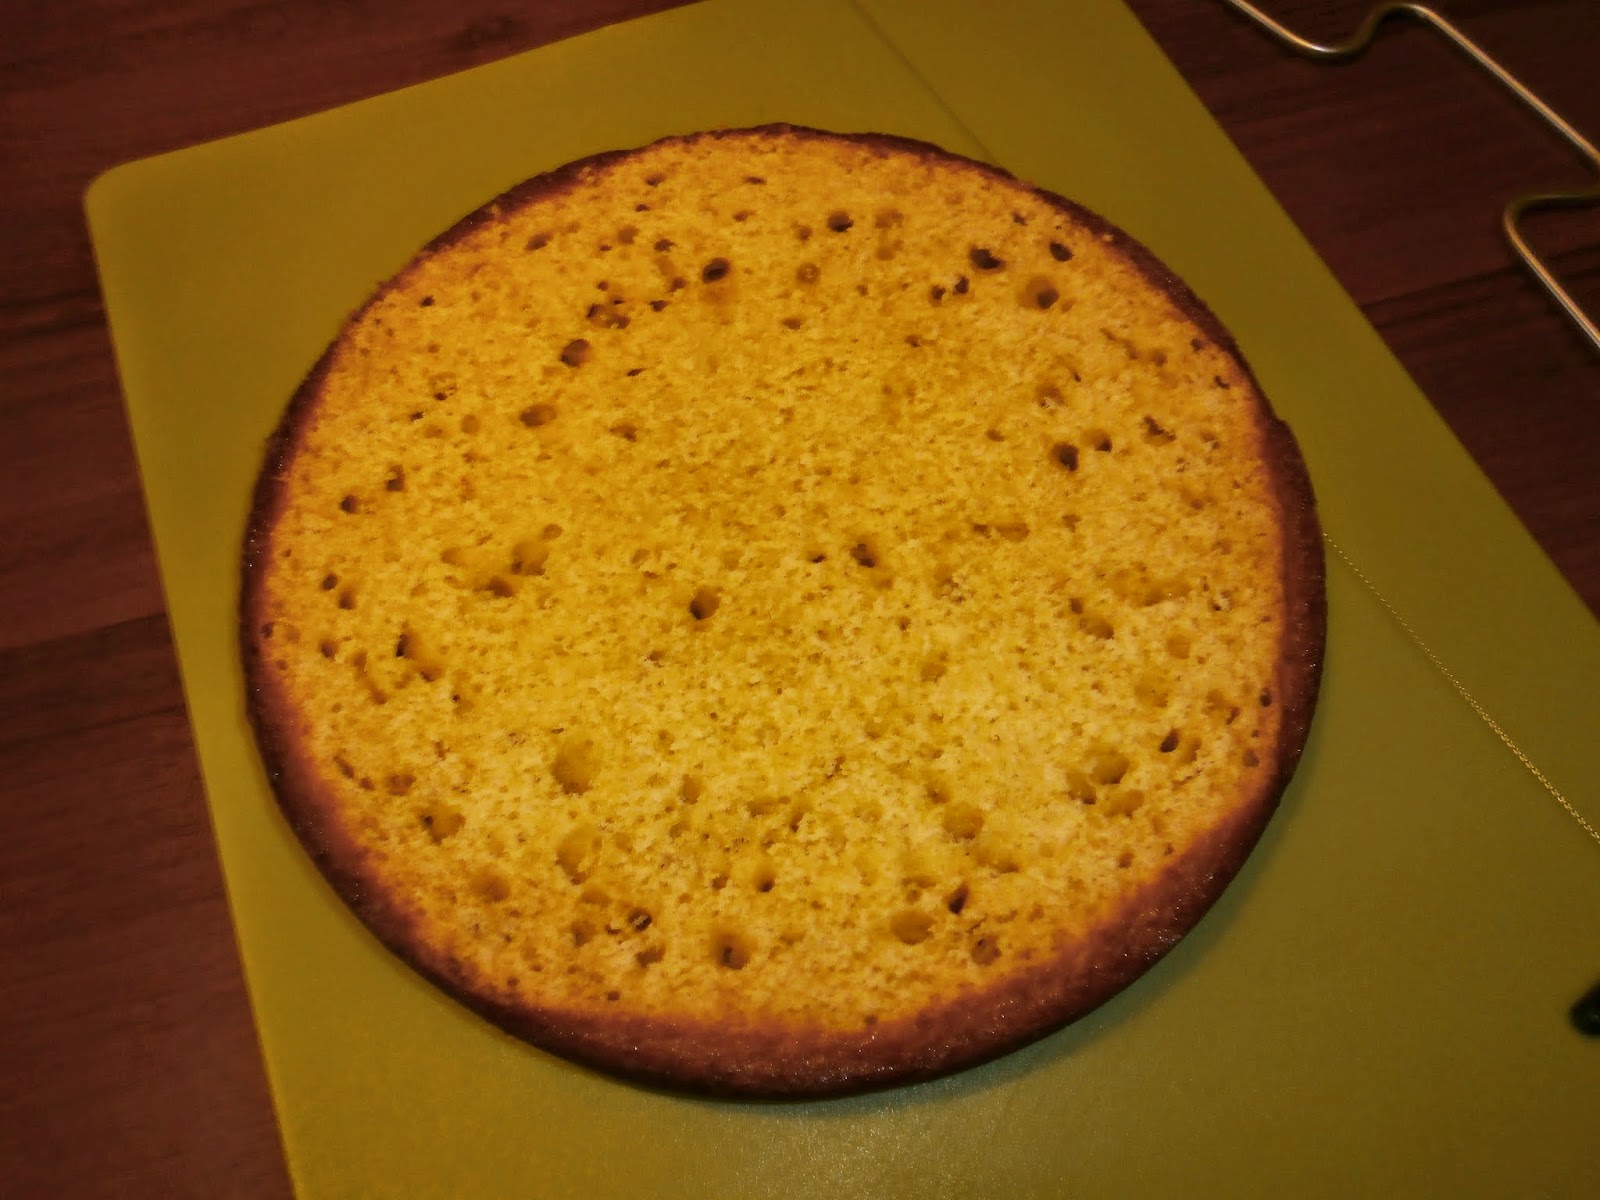
Pentru asamblare, nivelăm cele trei blaturi şi punem de-o parte părţile de deasupra - vom face ulterior un mic tort cu crema rămasă.
Ungem platoul pe care vom asambla tortul cu puţină cremă, ca să îl fixăm.
Punem primul blat, îl ungem cu cremă într-un strat subţire (circa 5 mm), apoi presărăm jumătate din cubuleţele de coajă confiată (cam o lingură).
Punem deasupra al doilea blat şi repetăm - cremă + cubuleţe de coajă confiată.
Punem şi cel de-al treilea blat, apoi acoperim tortul cu cremă, tot într-un strat subţire.
Introducem tortul la frigider, măcar 15 minute. La fel şi crema rămasă.
Scoatem apoi tortul şi mai adăugăm un strat subţire de cremă.
Nivelăm frumos sau facem un model mai mult sau mai puţin ordonat cu diferitele instrumente pe care le avem la îndemână (cuţit, spatulă, lingură sau instrumente speciale).
Introducem din nou tortul la frigider şi îl lăsăm măcar o oră, până la servire.
Îl decorăm (sau nu) cu nişte flori albe, de preferat frezii.

Poftă bună!
PS: din rămăşiţele de blat şi cremă facem un tort pentru "culise". O să rămână destulă cremă după ce facem tortul principal, dar dacă facem straturile prea mari, tortul va fi greoi. Pe de altă parte, înjumătăţind cantităţile pentru cremă, s-ar putea să nu ajungă, pentru că pentru tortul principal trebuie cam 2/3 din toată crema. Vă asigur însă că acest tort de "culise" vă va încânta: oaspeţii se vor bucura de cel principal, iar acesta vă va aştepta cuminte în frigider... doar al vostru :)
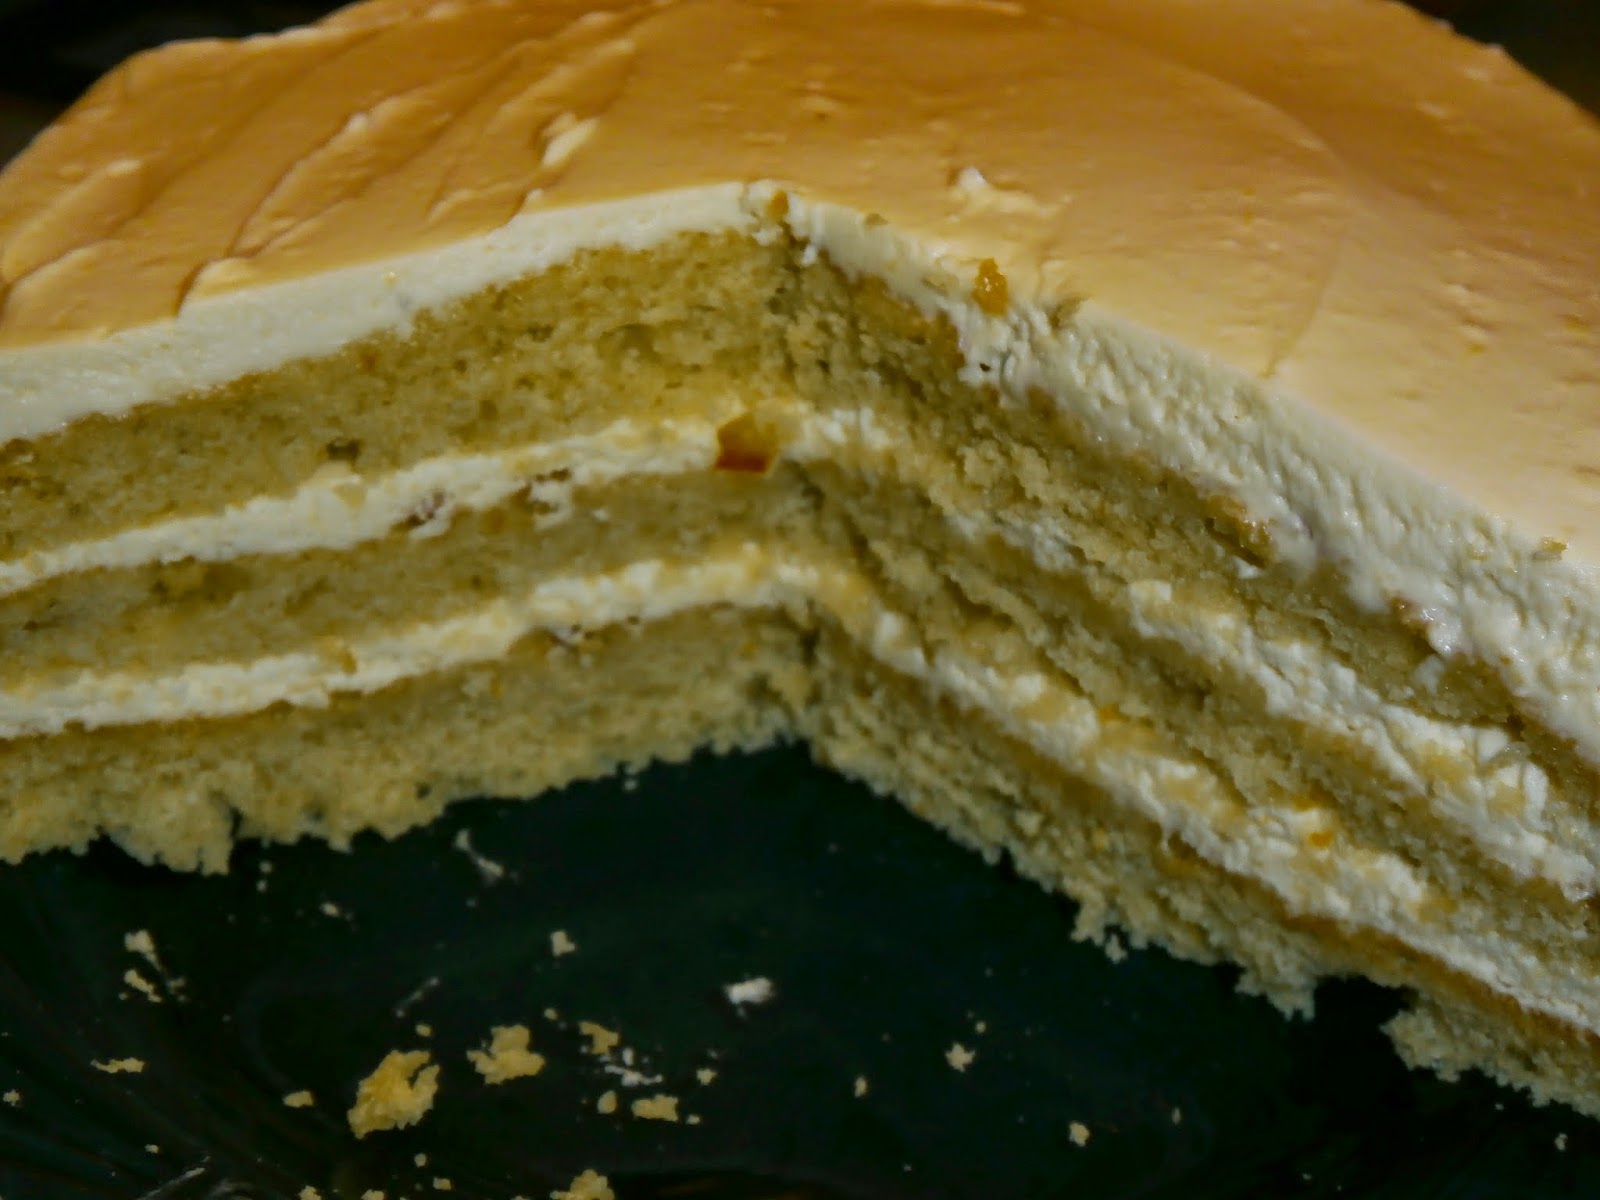

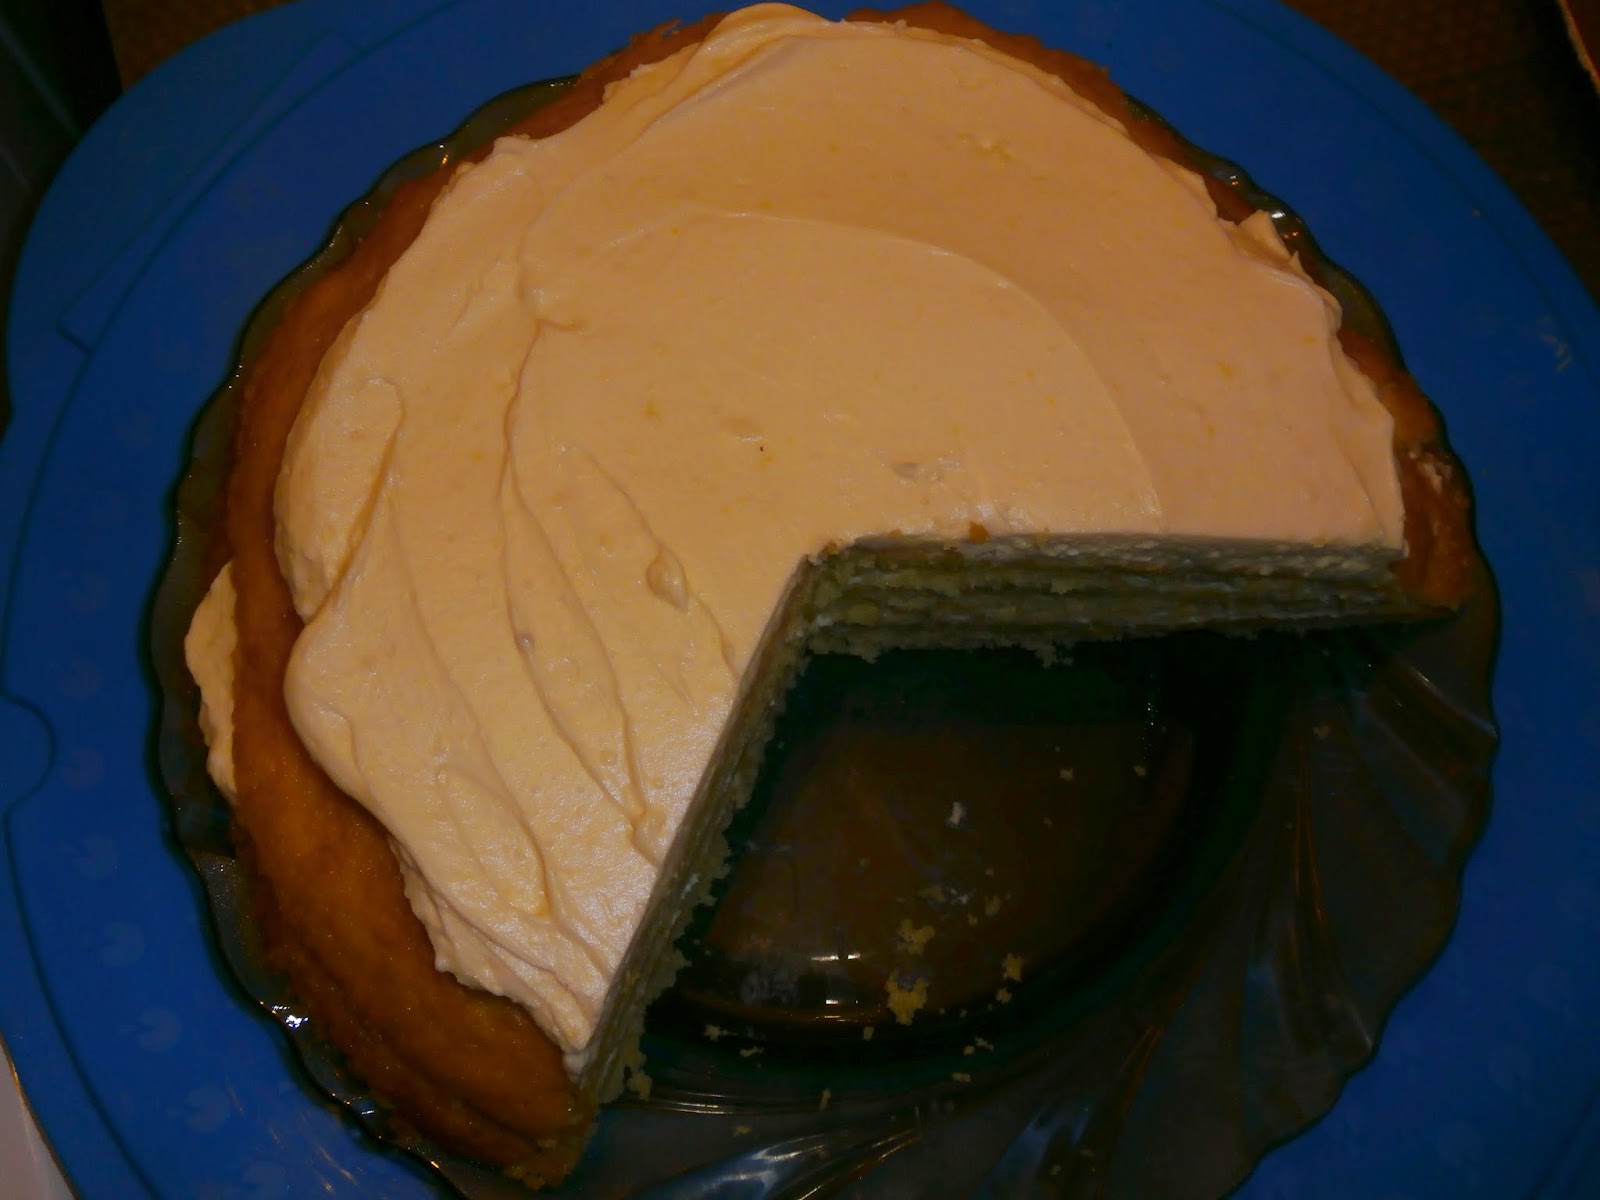
This is actually the second cake I made this year for my birthday, for the party with my dear friends. The first one was for my family (the recipe will follow, I hope, soon). Though different, my both cakes had in common an ingredient: blood orange. And while the first was mostly my creation, for this one I followed, almost entirely, this recipe. I say almost entirely, because I made some changes even while I was making it. It is very tasty, fresh and quite light (it is kept in the fridge until serving, so the cream is cold and not "heavy"). Bot myself and my friends liked it very much and I will most certainly make it again.
It also had its share of a walk through the city, from my home to my friends who hosted the party. This is how it got its name too. I left it simple, just with the cream frosting, because I thought it was perfect that way, without other decorations (although I had something in my mind). But on my way I passed in front of a flower shop and I thought how nice it would look with some natural flower decorations. What caught my eye, also because they are one of y favorite flowers, were some white freesias. So the beautifully perfumed flowers transformed my beautiful cake into a very elegant one, which would do honor also to a "high society" party. It was the star of the party and of a very long photo session. Some took photos, some were in charge of the mise en scene, and others were longing to see the photo session end and the cake served. Then, as soon as it was served, it was gone as if non existent :)
It also had its share of a walk through the city, from my home to my friends who hosted the party. This is how it got its name too. I left it simple, just with the cream frosting, because I thought it was perfect that way, without other decorations (although I had something in my mind). But on my way I passed in front of a flower shop and I thought how nice it would look with some natural flower decorations. What caught my eye, also because they are one of y favorite flowers, were some white freesias. So the beautifully perfumed flowers transformed my beautiful cake into a very elegant one, which would do honor also to a "high society" party. It was the star of the party and of a very long photo session. Some took photos, some were in charge of the mise en scene, and others were longing to see the photo session end and the cake served. Then, as soon as it was served, it was gone as if non existent :)
WHITE FREESIAS FANTASY
Cake (x3):
- 113 g butter, at room temperature
- 150 g sugar
- 180 g flour
- 15 g cornstarch
- 1 tablespoon baking powder
- a pinch of salt
- 2 egg yolks
- 1 egg
- 1 tablespoon blood orange zest
- 2 tablespoons blood orange juice, strained
- 120 g Greek yogurt
- 135 g sugar
- 160 ml blood orange juice, strained
- 480 ml heavy cream
- 210 g icing sugar
- 450 g mascarpone cheese
- candied blood orange peel, cubed (about 2 tablespoons)
Preheat the oven and butter a 23-25 cm round cake pan, then line it with parchment paper.
Mix together the sifted flour, cornstarch, baking powder and salt.
Combine the Greek yogurt with the blood orange juice and zest.
In a large bowl mix the butter on high speed for about 2 minutes, until light and fluffy.
Add in the sugar and mix for another 5 minutes.
Add in the egg, then the two yolks, one at a time, mixing well after each addition.
Add the flour mixture in four parts, alternating with the yogurt mixture (in three parts). This time keep a slow speed while mixing and just until combined or use a spatula.
Pour the batter in the pan, level and bake to medium heat until golden brown on top and passing the toothpick test (30 minutes).
Let the cake cool a little in the pan, then transfer it on a wire rack. Allow it to cool completely.
Repeat to get another two cakes.
Once the cakes done (you can make them one day ahead), prepare the cream.
First, make a syrup from sugar (the 135 g) and the blood orange juice. Boil the mixture in a saucepan, on medium heat, until reduced by half (you should get about 160 ml syrup).
Let the syrup cool.
When the syrup as cooled, continue preparing the cream.
Mix the heavy cream until soft peaks form.
Add the powdered sugar and continue mixing until well combined.
Add in the mascarpone cheese and beat util combined.
Gently fold in, with a spatula, the blood orange syrup.
Cover the bowl or transfer the cream in a plastic box and refrigerate for at least one hour, to let it harden.
To assembly the cake, slice off the top of the cake to even them out. Put the top pieces aside - they'll make a small cake with the remaining cream.
Spread some cream on the plate, to fix the cake.
Place the first piece of cake on the plate, spread a thin layer (about 5 mm) of cream, then sprinkle half of the candied peel cubes (about one tablespoon).
Place the second cake on top and repeat - cream + candied peel cubes.
Finally place the third piece of cake, then cover the cake in a thin layer of cream.
Refrigerate the cake for at least 15 minutes and also the remaining cream.
Remove then the cake and add another thin layer of cream.
Smooth this last layer or make a pattern using various instruments at hand (knife, spatula, spoon or special instruments for decorating cakes).
Refrigerate again until serving (at least one hour).
Decorate the cake, if you want, with white flours, preferably freesias.
Enjoy!
PS: you can use the remaining pieces of cake and the remaining cream to make a "backstage" cake. You will see that you have enough left cream, but if you make the layers too thick, the cake will be too heavy. On the other hand, if you make just half of the frosting, it won't be enough - for the main cake you need about 2/3 of the cream. But I assure you that this "backstage" cake will be a delight for you: your guests will enjoy the main cake, but this one will be waiting for you in the fridge... just for you :)







Niciun comentariu:
Trimiteți un comentariu