După ce am încercat un cheesecake japonez,
fără blat, şi un cheesecake “obişnuit”, cu blat de biscuiţi, a venit timpul pentru o altă
reţetă, tradiţională poloneză (Sernik – SEHRR-neek), cu un blat asemănător celor de tarte. Spre deosebire
de cheesecake-urile de origine sau inspiraţie americană, acesta se face cu
brânză proaspătă de vaci, în poloneză twaróg (TVAH-rroog). Reţeta pe care am folosit-o are
chiar origini poloneze, de la Anna Chodan Krol din Rudka.
Eu m-am îndrăgostit de această prăjitură şi
mi-a plăcut foarte mult cum se văd în cremă seminţele de vanilie. Am trecut-o
deja pe lista prăjiturilor de re şi refăcut.
Smacznego!
SERNIK

Blat:
- 260 g făină
- 100 g zahăr
- ¾ linguriţă praf de copt
- 150 g unt rece, tăiat cubuleţe
- 2 gălbenuşuri mari
- 3 linguri smântână
- 150 g unt, la temperatura camerei
- 400 g zahăr (sau 300-350 g dacă nu vreţi să iasă prea dulce)
- 4 ouă mari
- 1 păstaie de vanilie sau ½ linguriţă extract de vanilie
- 900 g brânză proaspătă de vaci
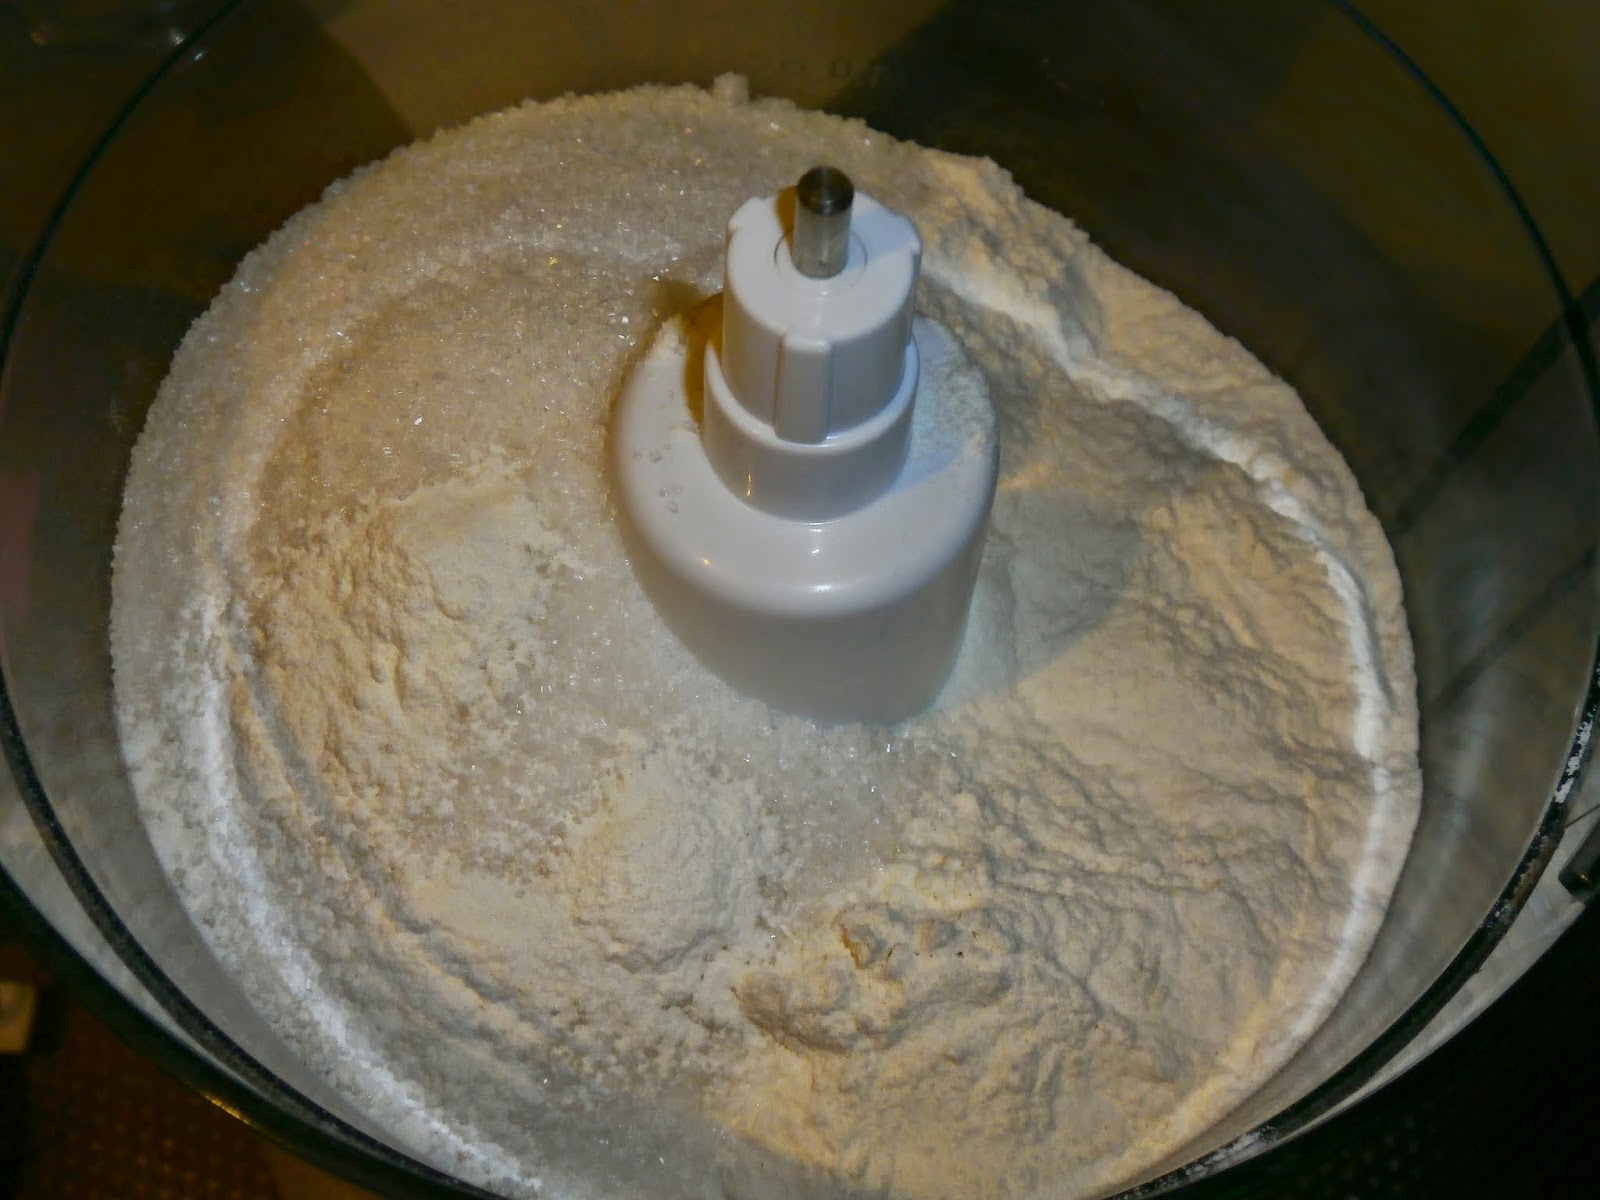
Pentru aluat, punem făina, zahărul şi praful
de copt în robotul de bucătărie şi le amestecăm puţin.

Adăugăm apoi untul rece, tăiat cubuleţe, şi
amestecăm, la ca aluatul de tarte, până ce compoziţia arată ca un orez
amestecat cu făină.


Separat, amestecăm gălbenuşurile şi smântâna,
apoi turnăm lichidul peste compoziţia din robot.


Amestecăm din nou, doar până se omogenizează
şi aluatul începe să se lege.


(În lipsa unui robot de bucătărie, puteţi face
aluatul cu mâna, lucrând la fel ca la aluatul pentru tarte.)
În reţeta originală, se menţionează că se
poate adăuga un ou întreg, dacă aluatul este prea uscat şi nu s-a legat, sau
dacă este prea moale să se lase circa o 1 oră la frigider. Mie mi-a ieşit bine,
deci am trecut mai departe.
Ungem o tavă de circa 20x30 cm cu unt.
Frământăm puţin aluatul, ca să formăm o bilă
de aluat, apoi îl întindem suficient de mult încât să îmbrace fundul şi pereţii
tăvii. Pentru a nu se lăsa la copt, rulăm puţin
marginea, dublându-o.


La mine s-a dovedit totuşi puţin cam moale şi
se lipea de blatul de lucru. Aşa că l-am întins direct în tavă, cu ajutorul
unei linguri şi a degetelor (atenţie însă, trebuie lucrat repede, pentru a nu
topi untul din aluat de la căldura mâinii).

Dacă mai rămâne aluat, îl păstrăm pentru a
decora prăjitura după ce punem crema de brânză.
Pentru că mai durează până facem crema, punem
tava, acoperită cu o folie de plastic sau aluminiu, în frigider pentru cel
puţin 30 de minute.
Pentru cremă, mixăm untul moale cu zahărul
până devine cremos.


Separăm ouăle şi adăugăm în amestecul de unt
doar gălbenuşurile. Adăugăm şi vanilia şi mixăm până obţinem o cremă fină.


Adăugăm apoi brânza de vaci (dacă nu este
foarte fină, puteţi să o treceţi printr-o sită sau să o mixaţi puţin în
blender) şi mixăm, la viteză mică, până se încoporează bine în cremă.


Batem separat albuşurile spumă şi le
încorporăm (o treime, apoi restul) în crema de brânză, amestecând uşor cu o
spatulă.


Acum dăm drumul la cuptor, la foc mediu, şi
scoatem tava din frigider.

Înţepăm aluatul din loc în loc cu o furculiţă
şi turnăm crema de brânză, pe care o nivelăm frumos.


Dacă ne-a mai rămas aluat, îl rupem bucăţele,
pe care le rulăm şi le aşezăm în diagonală pe prăjitură.
Coacem prăjitura la foc potrivit, pentru 20-30
de minute. Ca să fim siguri că este gata, verificăm prăjitura: marginile
aluatului ar trebui să fi devenit aurii, iar crema să fie stabilă pe margine,
dar gelatinoasă în centru. În cazul acesta, stingem focul şi lăsăm prăjitura în
cuptor, cu uşa întredeschisă, până se răceşte complet.

(În reţeta originală, timpul de coacere era de
50-60 de minute. La mine a fost gata după circa 25 de minute. De aceea este
important să verificăm prăjitura, pentru a nu o coace prea mult. Lăsându-o în
cuptorul cald, va continua să se coacă, iar mijlocul va deveni ferm).
Când s-a răcit, acoperim tava cu folie şi o
dăm la frigider.

O porţionăm (dintr-o tavă cu dimensiunile menţionate,
ies 12 bucăţi destul de mărişoare) şi o servim cu zâmbetul pe buze, că tare
bună mai e!
Poftă bună!

Eu am decorat-o cu flori de liliac zaharisite!


******************************************************************************************************
Until now, I made a Japanese cheesecake, with no crust, and a “normal” cheesecake, with a cookie crust. Now it
was time for another kind of cheesecake, traditional from Poland (Sernik – SEHRR-neek),
with a crust similar to the pastry for tarts. Unlike the American inspired
cheesecakes, this one requires dry curd cottage cheese, in Polish twaróg (TVAH-rroog). The
recipe I used has Polish origins, from Anna Chodan Krol from Rudka.
I just fell in love
with this cheesecake and I loved the way the cream was full of vanilla seeds. It’s
already on my “to do over and over again” list.
Smacznego!
Crust:
- 260 g flour
- 100 g sugar
- ¾ teaspoon baking powder
- 150 g cold butter, cut into pieces
- 2 large egg yolks
- 3 tablespoons sour cream
- 150 g butter, at room temperature
- 400 g sugar (or 300-350 g if you don't like it to be too sweet)
- 4 large eggs
- 1 vanilla bean ½ teaspoon vanilla extract
- 900 g dry curd cottage cheese
For the crust, we mix the flour, sugar and baking powder in the food processor.
We add in the cold
butter and mix, just like for the pastry, until it looks like a mix of flour
and rice.
In a separate bowl, we
mix the egg yolks and sour cream, then add the mixture into the food processor.
We mix again just
until combined and the dough comes together.
(If you don’t have a
food processor, you can make the pastry by hand, just like you do for tarts.)
In the original
recipe, it’s said that you can add one whole egg if the dough is too dry or put
it in the refrigerator for 1 hour if it’s too soft. Mine was fine, so I continued
with the recipe.
We grease an approximately
20x30 cm pan with butter.
We knead the dough
just to be able to form a ball of dough, then roll it until it’s large enough
to cover the bottom and the sides of the pan.
Mine was, in the end,
a little too soft and sticky. So I used a spoon and my fingers to directly line
the pan (in this case, we have to work quickly, in order to avoid the melting
of the butter from dough, from the heat of our hands).
We keep any leftover
dough to decorate the cake once we put the cream on top of the dough.
Because making the
cream takes some time, we cover the pan with foil or plastic and refrigerate it
for at least 30 minutes.
For the cream, we mix
the butter with sugar until light and fluffy.
Then, we separate the
eggs and add in the butter mixture just the yolks. We also add the vanilla and
mix until smooth.
We add the cheese (if
it’s not very smooth, you can pass it through a sieve or process it in a
blender) and mix, on low speed, until well incorporated.
Separately, we beat
the egg whites to stiff peaks and gently fold them in the cream (one third,
then the rest), using a spatula.
We now heat to oven to
medium temperature and remove the pan from the refrigerator.
We pierce the dough here
and there with a fork and pour the cream into the pan, then level it.
With the leftover
dough (if any), we make pencil shapes and lay them diagonally across the top of
the cheesecake.
We bake the cake, to
medium heat, for 20.30 minutes. To make sure it’s done, we check it: the dough
should be golden-brown and the cream set around the edges but slightly jiggly
in the center. If that’s so, we turn off the heat and leave the cheesecake in
the slightly open oven, until completely cool.
(In the original
recipe, the baking time mentioned was 50-60 minutes. Mine was ready in about 25
minutes. So it’s very important to check the cake, to avoid over-baking. By leaving
it in the warm oven, it will continue to bake and the center will become firm.)
Once cold, we cover
the tray with foil and put it in the fridge.
We cut it in pieces
(using a tray with the mentioned dimensions, you get 12 portions quite ok in
size) and serve it with a large smile on our faces, because it’s that good!
Enjoy!
I decorated it with candied
lilac blossoms!
Niciun comentariu:
Trimiteți un comentariu